In August 2013, as I was figuring out what I was going to do when I grew up, I was able to do quite a bit of riding in the neighborhood on weekdays. I noticed a bike frame laying on some garbage bags next to the Interurban trail and after three or four days I stopped and looked at it. I thought it was a road frame at first but it was obviously a mountain bike frame given straight bars and thumb-shifters, but it was made with small tubing and the top-tube didn’t slope down at the back. It was a rusty and beat up Giant Rincon, missing the saddle, pedals, chain and wheels. There had been some homeless people camping in that general area so I didn’t know if it was stolen or just dumped, but it was clearly junk when I got to it.
I hauled it home and posted it on Craigslist and Reddit. I got a bunch of Reddit upvotes and one response on Craigslist (somebody whose dad’s Rincon was stolen, but that one was much newer and a different color.) A month later I was going to dispose of it but decided maybe it would be fun to do something with it instead. I could see from Bikepedia that this bike was an early-90’s (1993?) model with a chromoly frame (which was verified by a sticker on the seat-tube) and that it was only a $300 bike when it was new. I could see from ebay that if it were rideable it would be worth $75 – $100. I was struck by the non-mountain geometry and by how traditional the frame was. I stripped it down, finding that it had a crunchy low-end Shimano bottom bracket with square tangs and Shimano Altus derailleurs. The cranks were aluminum and said “PoweRing Sakae” – it had 48-38-28 aluminum rings. The stem was rusted into the steerer and getting the bearing races off required a dowel and a hammer. Importantly, it had horizontal dropouts.
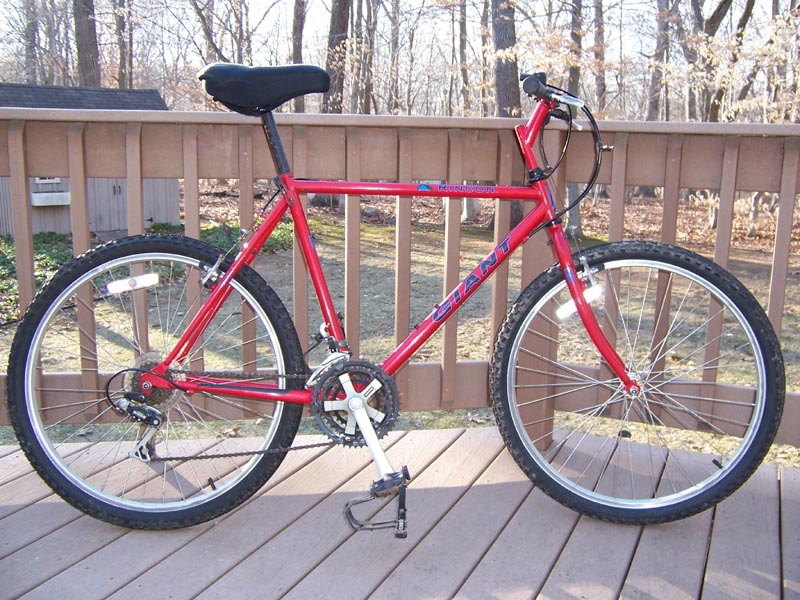
New, it must have looked something like this:
Unfortunately I didn’t take an pictures to show what it looked like when I rescued it.
I took the frame and the fork and the stem to Seattle Powdercoating and had them sandblasted and painted safety orange. I fiddled around a bunch with the strategy for a build and finally decided that I wanted quality parts (as opposed to stuff already in the garage) and that if I was going to spring for a new wheelset I wanted 700c. (I’ll admit that I didn’t think that all the way through, but I’ve never liked the way 26 inch wheels look on a regular sized frame and I was thinking that if I got a good set of wheels and didn’t like how they worked on that frame I could always move them over to my fixie or fuji touring frame – without considering the spacing of the dropouts on those frames.) My goal was to build a single-speed that I could use for errands or commuting (even though I now don’t have a commute to worry about.)
After reading a bunch about Phil Woods and White Industries, I decided to get Surly parts. I recognized that most of what I know about Surly is the marketing driven hipster attitude, but I like that and everything I read in biking forums has good things to say about their quality. It turns out that despite what the Surly website says, Recycled Cycles is not a stocking dealer and had to special order stuff for me. It also turned out that the single speed crankset was out of stock at Surley. I ordered a fixed/free rear hub in the 135 width I needed for the Rincon frame and a matching front hub, and I had Recycled Cycles build the wheels for me with Mavic open sport rims. I ordered the Mr. Whirley single speed bottom bracket and crankset package. I ordered Giant decals from ebay.
After the frame was painted I took it into Recycled Cycles to get a seat post that fit (XLC Comp.) I also got a used WTB saddle and some bar tape. I ordered a set of Origin8 pursuit bullhorn handlebars from Amazon and a pair of Cane Creek bar-end brake levers.
Going from 26-inch wheels to 700c wheels meant that I needed to do something about the brakes since the studs used for cantilevers (or v-brakes) were positioned where the smaller wheel would put them. I decided that if I was going to ride this bike with a load or even just down the Fremont hill, I wanted real brakes. Since I had a tandem and a couple of touring bikes with Rodriguez big-squeeze brakes I figured it would make sense to put them on this bike, too. I bought a pair of Xtracycle V-brake adapters and mounted them, then mounted the big-squeezes on the new studs. (I had trouble getting the brake pads to clear the mount so I got spacers to move them out 3/8th of an inch, only to find out later that the spacers defeated the tension cap and that I had to take them off to make the brakes work.) I bought some Jagwire cable housing and some Shimano universal brake cables and some cable-ends and some housing ferrules and a cable cutter/crimper. I spent a bunch of time figuring out the brake installation and adjustment, and finally took it in to Rodriguez (after taping the handlebars first so that it didn’t look quite so amateurish.)
The fixie I’ve been riding has a 42 Tooth chain ring and a 16T rear cog for a 2.63 gearing ratio. The Surly single-speed setup comes with a 33T chain ring. I figured that a 13T or 14T rear cog would give me a ratio that was about what I was used to. I got a used 14T freewheel for $5.00 but when I got it home I found out that it threaded onto a much smaller diameter hub (BMX, maybe?) When I went shopping for a 12T or 13T freewheel that would fit a standard hub I learned that they aren’t made (I was confusing freewheel cogs with cassette cogs). So I bought an ACS crossfire 16T freewheel – and then read about all of the complaints people had with ACS freewheels and decided to trade up to a White Industries ENO 16T freewheel. (That meant I had to buy both ACS and White Industries removal tools.) I bought a Origin8 42T chainring and used it in place of the 33T Surly (aluminum instead of steel but I can always upgrade.) It’s a 5-bolt 94mm spider so there are limited options, but I think eventually I’ll want to go to a 46T chainring and if I can find one in steel I’ll go that route.
I installed the Surly bottom bracket. It is made with external cups and a spindle that just slides in. Everything went together just right and the instructions were easy to follow. (It’s a 68 BB which just meant I had to put three spacers in; the chain line appears to be exactly parallel to the stays even though the 42T chainring had to go on the other side of the spider from where the 33T Surly had been.) The splines on the spindle make it feel really secure and I didn’t worry about not having a torque wrench since it was basically the same as what I’ve done with the cranks on the tandem and Will’s touring bike when I was shipping them.
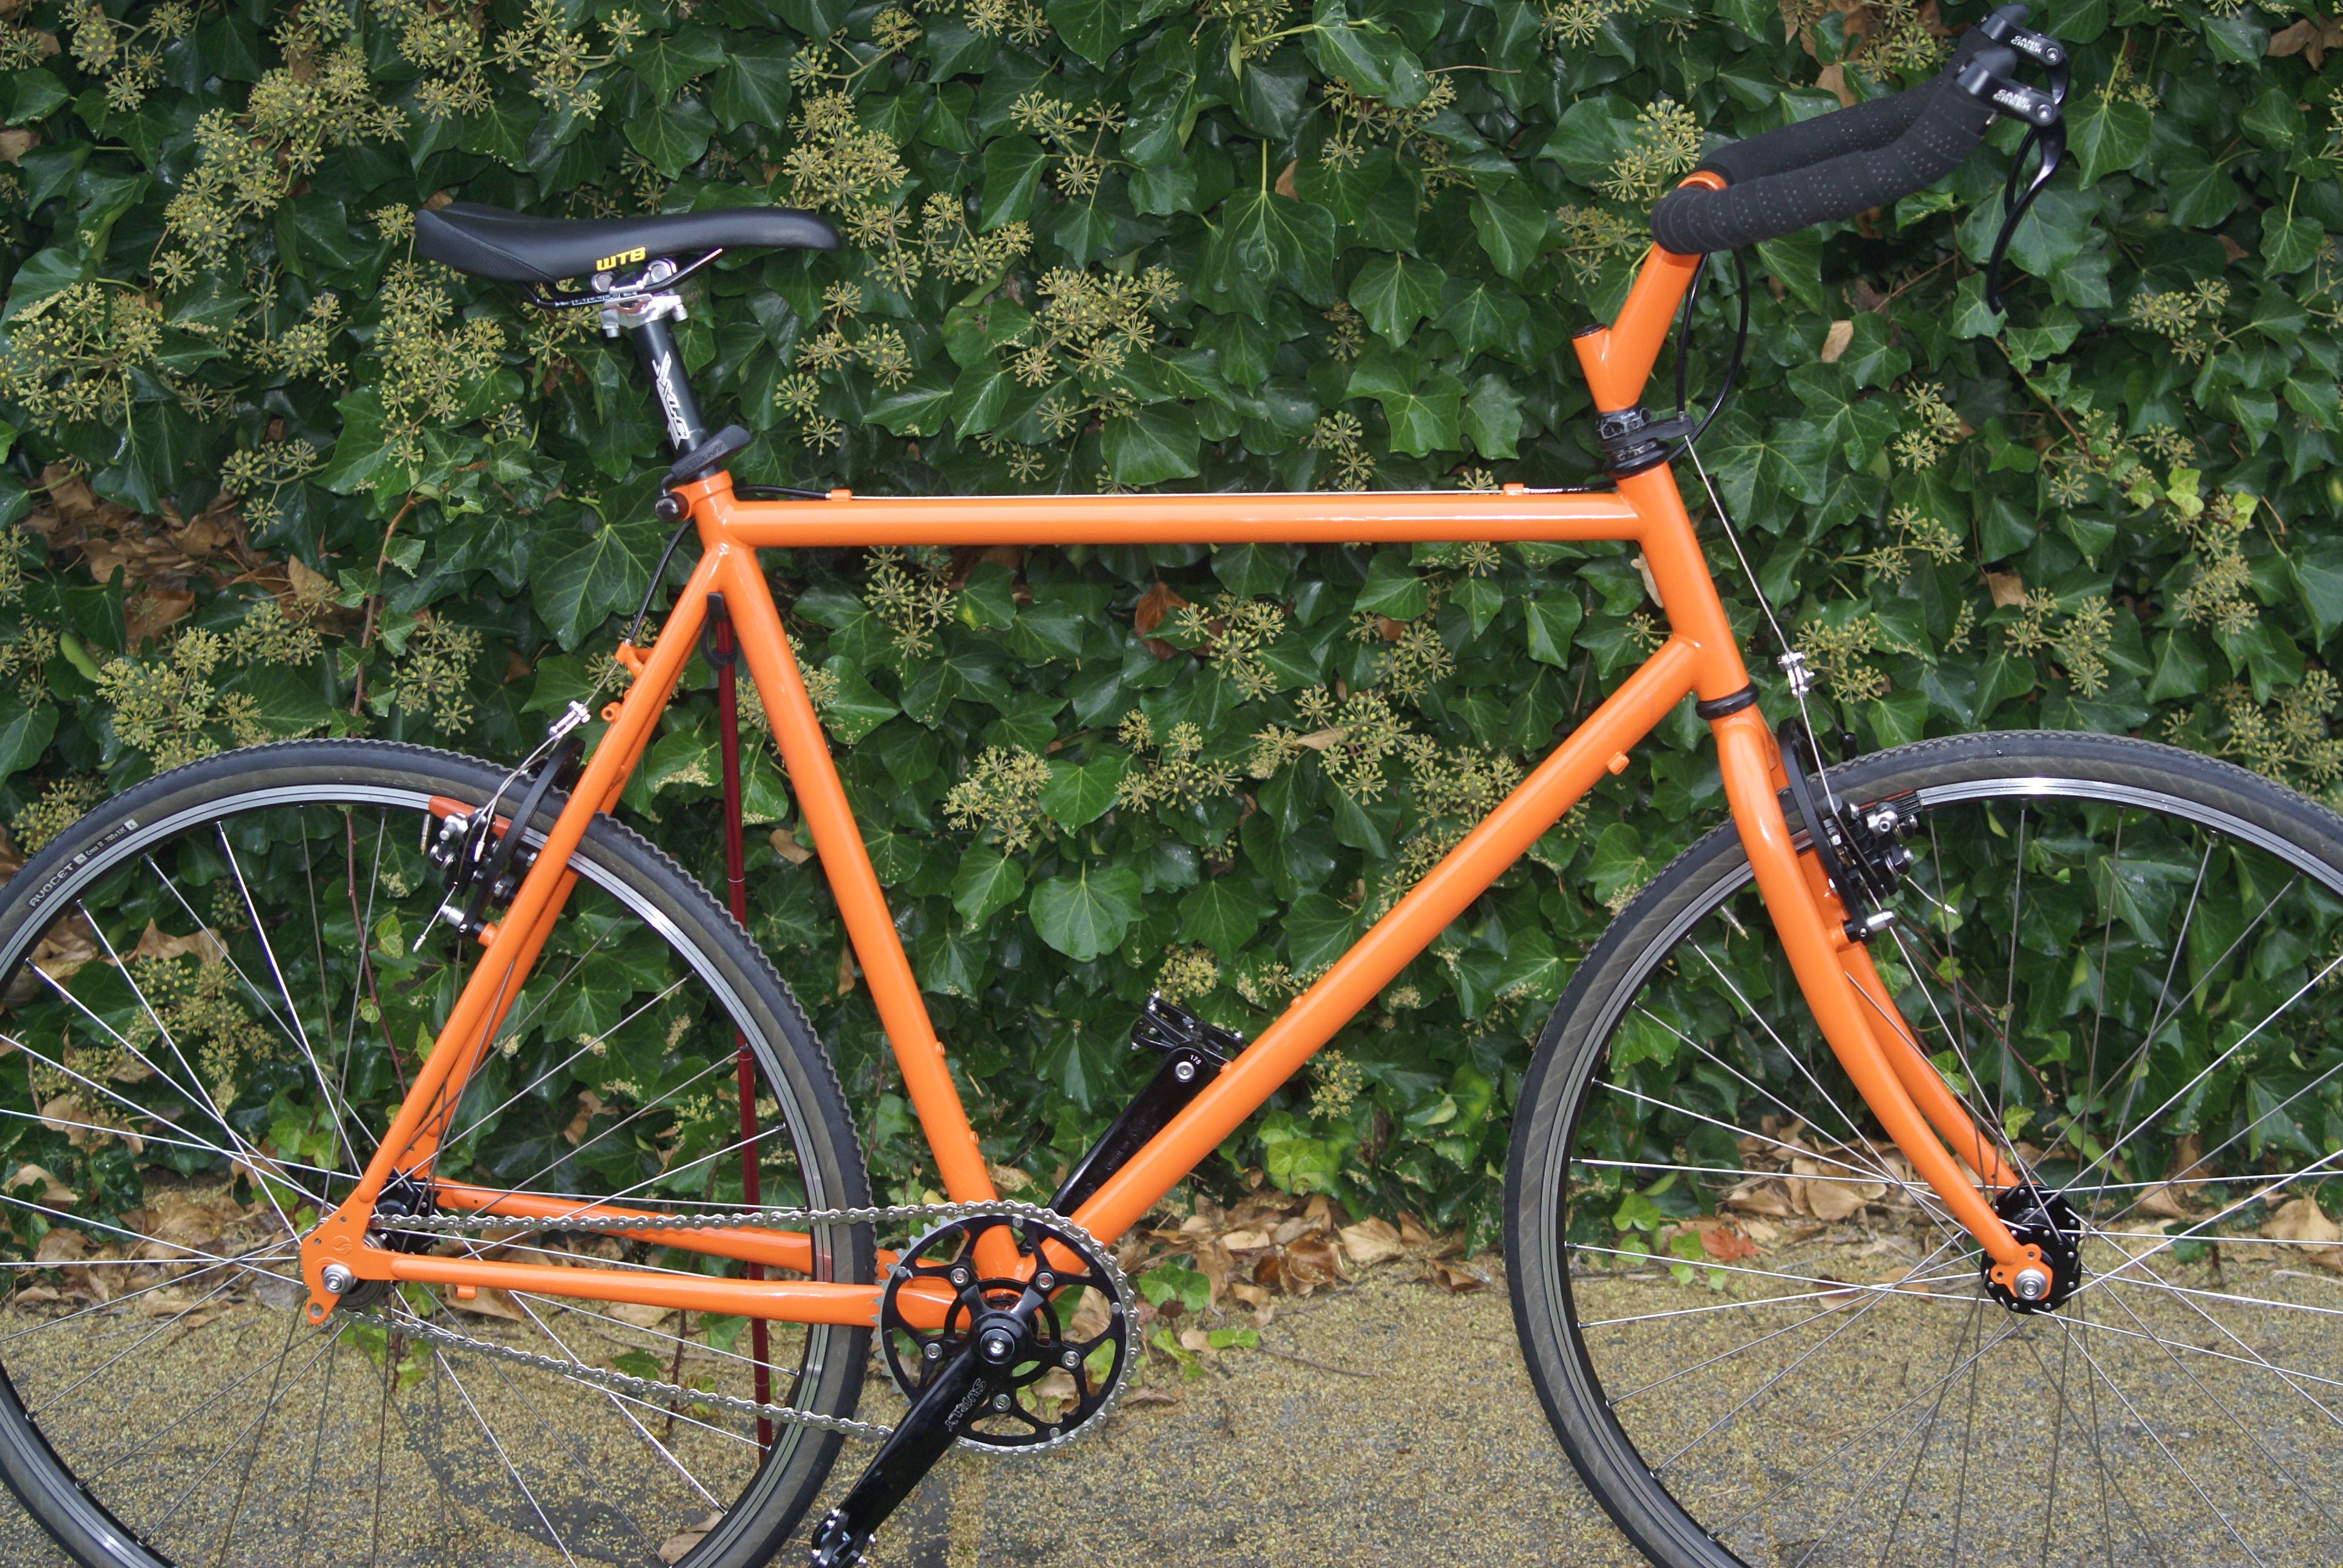
I got a KMC single-speed chain and cut it to the right length (taking out one link at a time.) I used a pair of Avocet tires (32’s that still had tread on them) off of the old Burley tandem – when they wear out I’ll probably get narrower ones. I bought a pair of Wellgo touring city platform pedals. Here’s what the Rincon looked like when it was finally rideable:
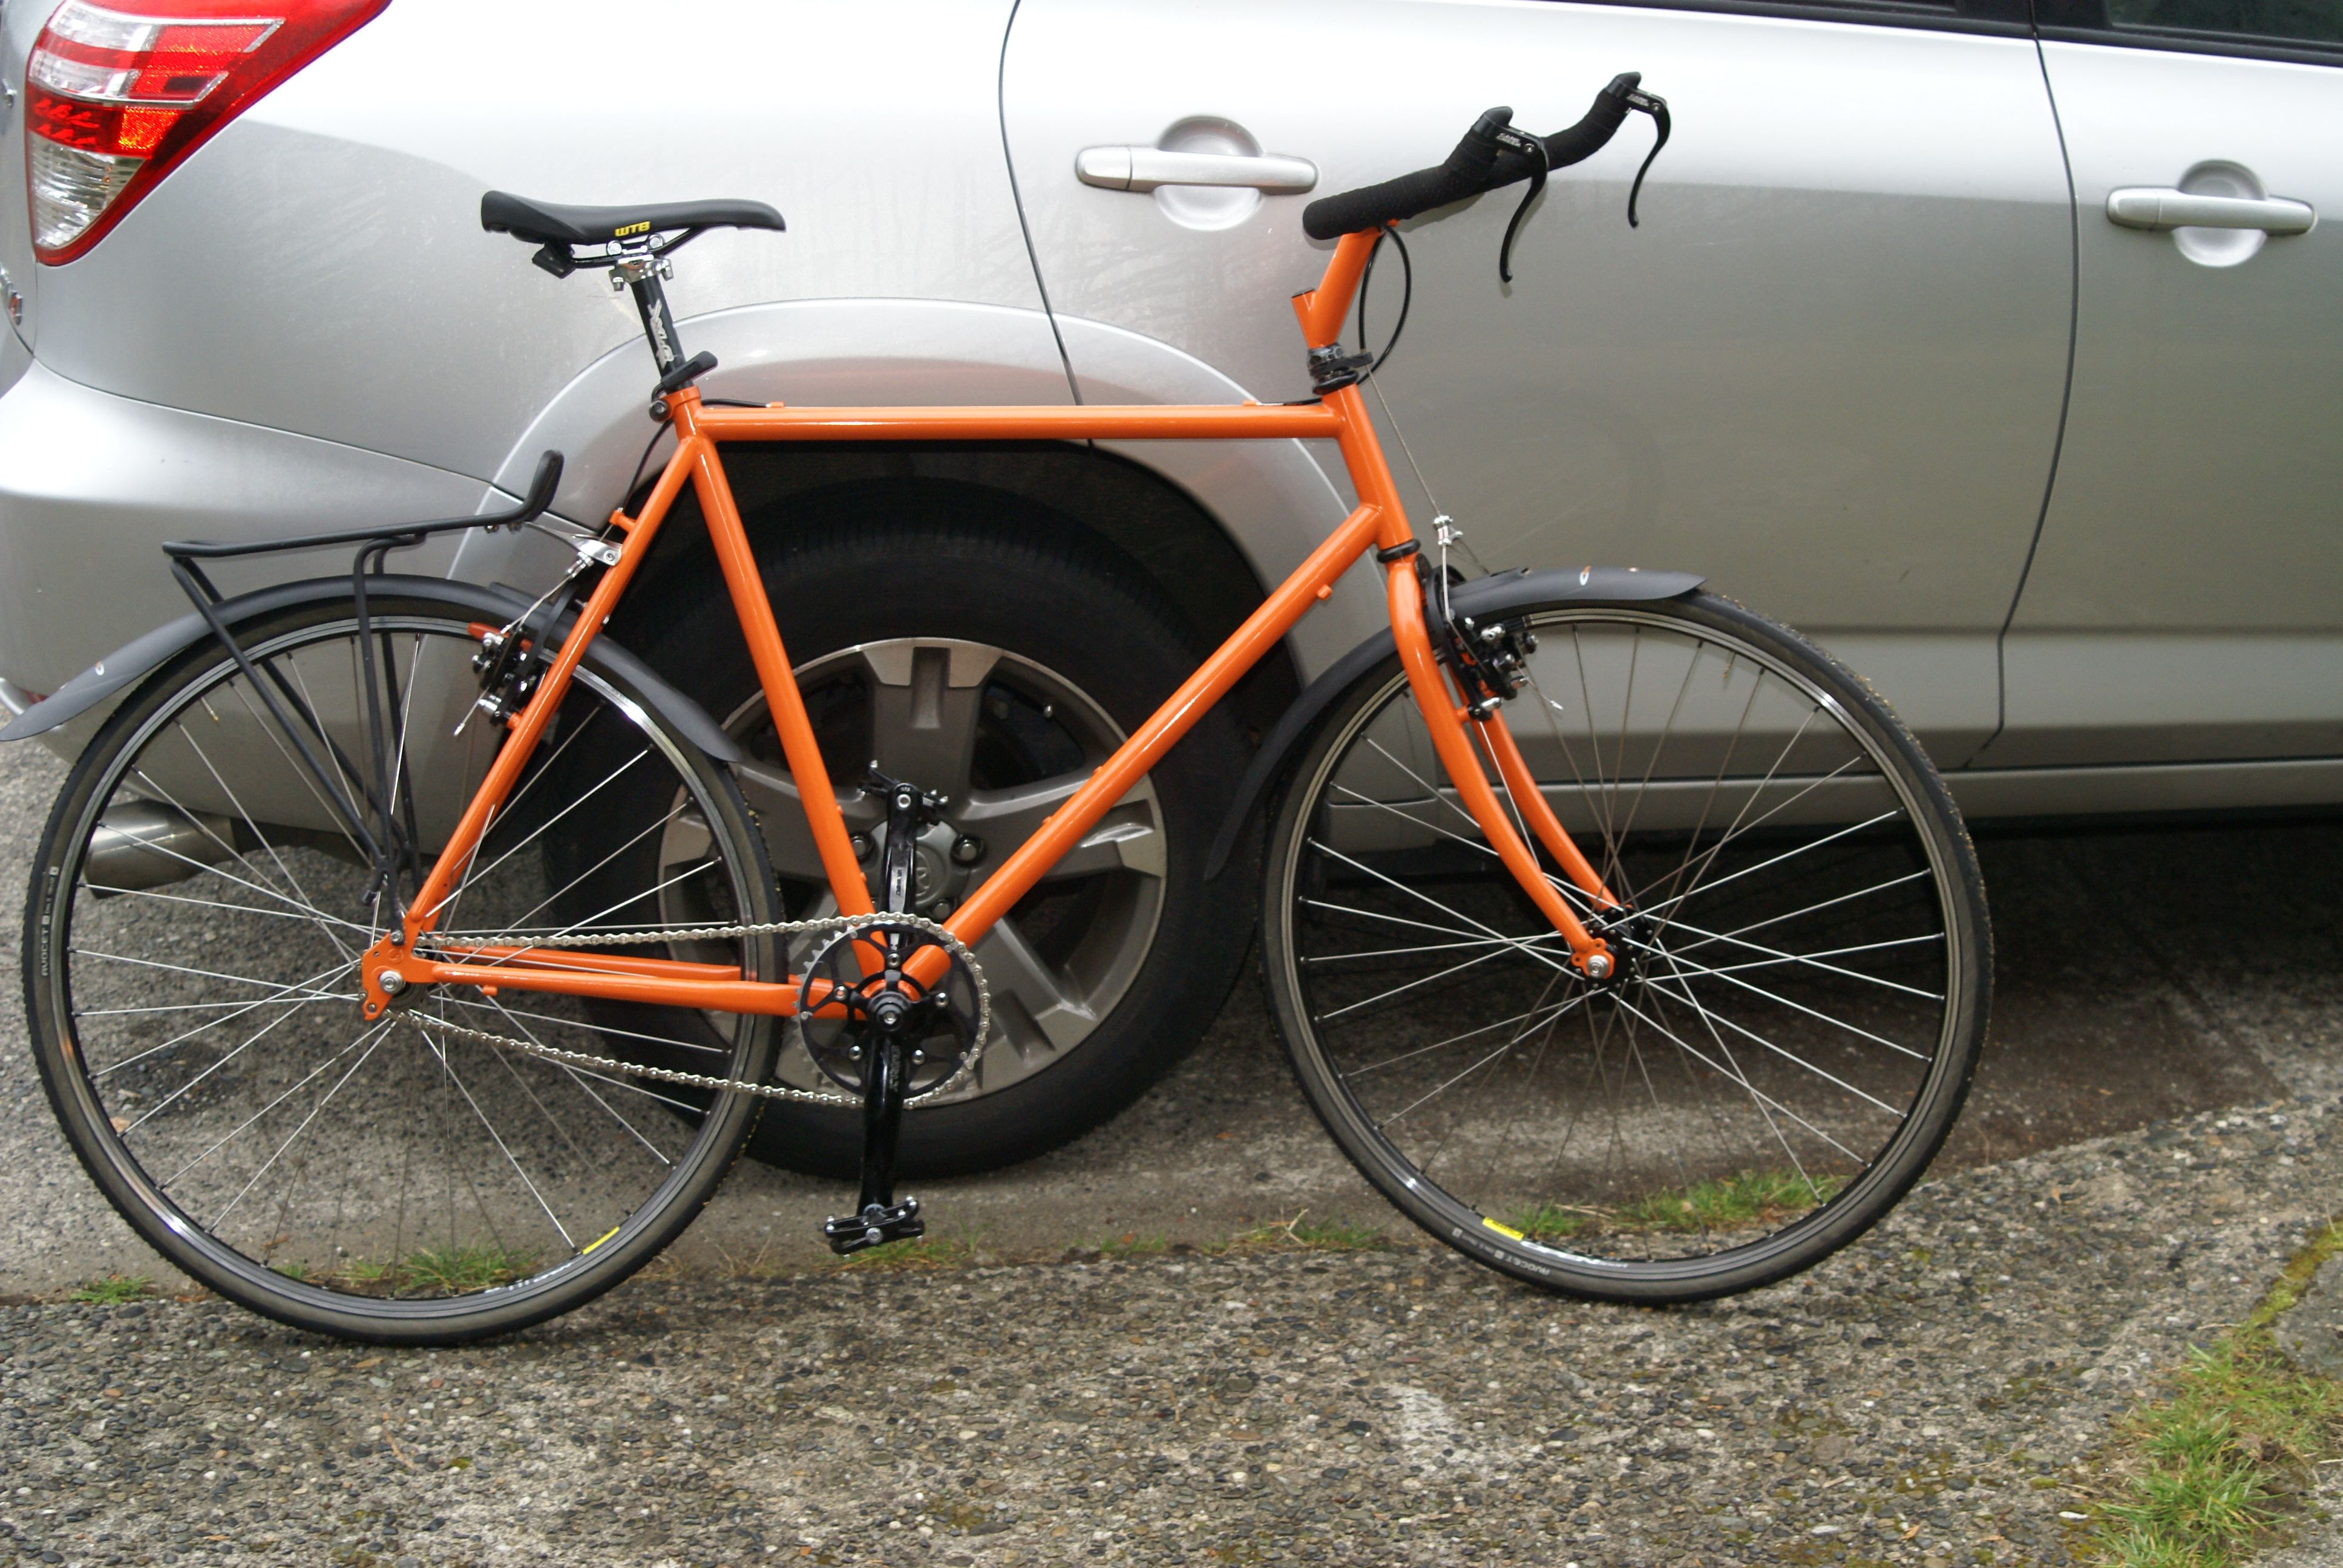
I fiddled with the brakes some more, still trying to eliminate squealing and keep the back brake from feeling too soft. After a very short initial ride I decided to add fenders and a rack I had in the garage. The fenders required some fiddling to keep them from rubbing. I cut off the mounting brackets for the rack so that the loose ends wouldn’t vibrate and make noise. Here’s a picture with fenders and rack:
During the first longer ride I tilted the bars down a little more. It looks like I need to adjust the rack to get it so that it isn’t sloping up in the front. I need to tighten the seat post collar. I’ll probably add a bottle cage and I need to set up a wedge bag with mini tool, tubes, patch kit, inflater & CO2, etc. I need to add a taillight and a headlight mount.
Observations:
- Even though it’s a mountain bike frame, it’s longer than the Centurian road bike frame on my fixie (and longer than any of my touring bikes.)
- It isn’t a light frame but the resulting bike isn’t nearly as heavy as I thought it would be.
- The safety orange and black color scheme is every bit as visible as I had hoped it would be
- I could have bought a pretty nice bike for what I put into the wheel set, crank set and brakes, but I learned a lot and it came out well enough that I’m happy with what I got
Things I like:
- the Surly components – very smooth, very solid, good looking
- the Big Squeeze brakes – built for a tandem, they will stop me even with a load and wet rims
- the way the wheel set came out – really stiff and light
- the use of hex-keyed bolts instead of quick releases on the axles
- the look of the bullhorn / bar-end brake lever / cables under the tape combination
Things I don’t like:
- I still need to work out the right pedals – I feel a need for clips when I’m riding but I know I’ll like the convenience of using regular shoes. Maybe velcro straps?
- Brakes are fussy and still squeal and there is too much travel in the rear lever
- I did a crappy job with the bar tape and really ought to re-do that
- I scratched the handlebars when I originally slid them through the clamp
- I wish it had an unthreaded head-set, maybe a stem with less rise would be better.
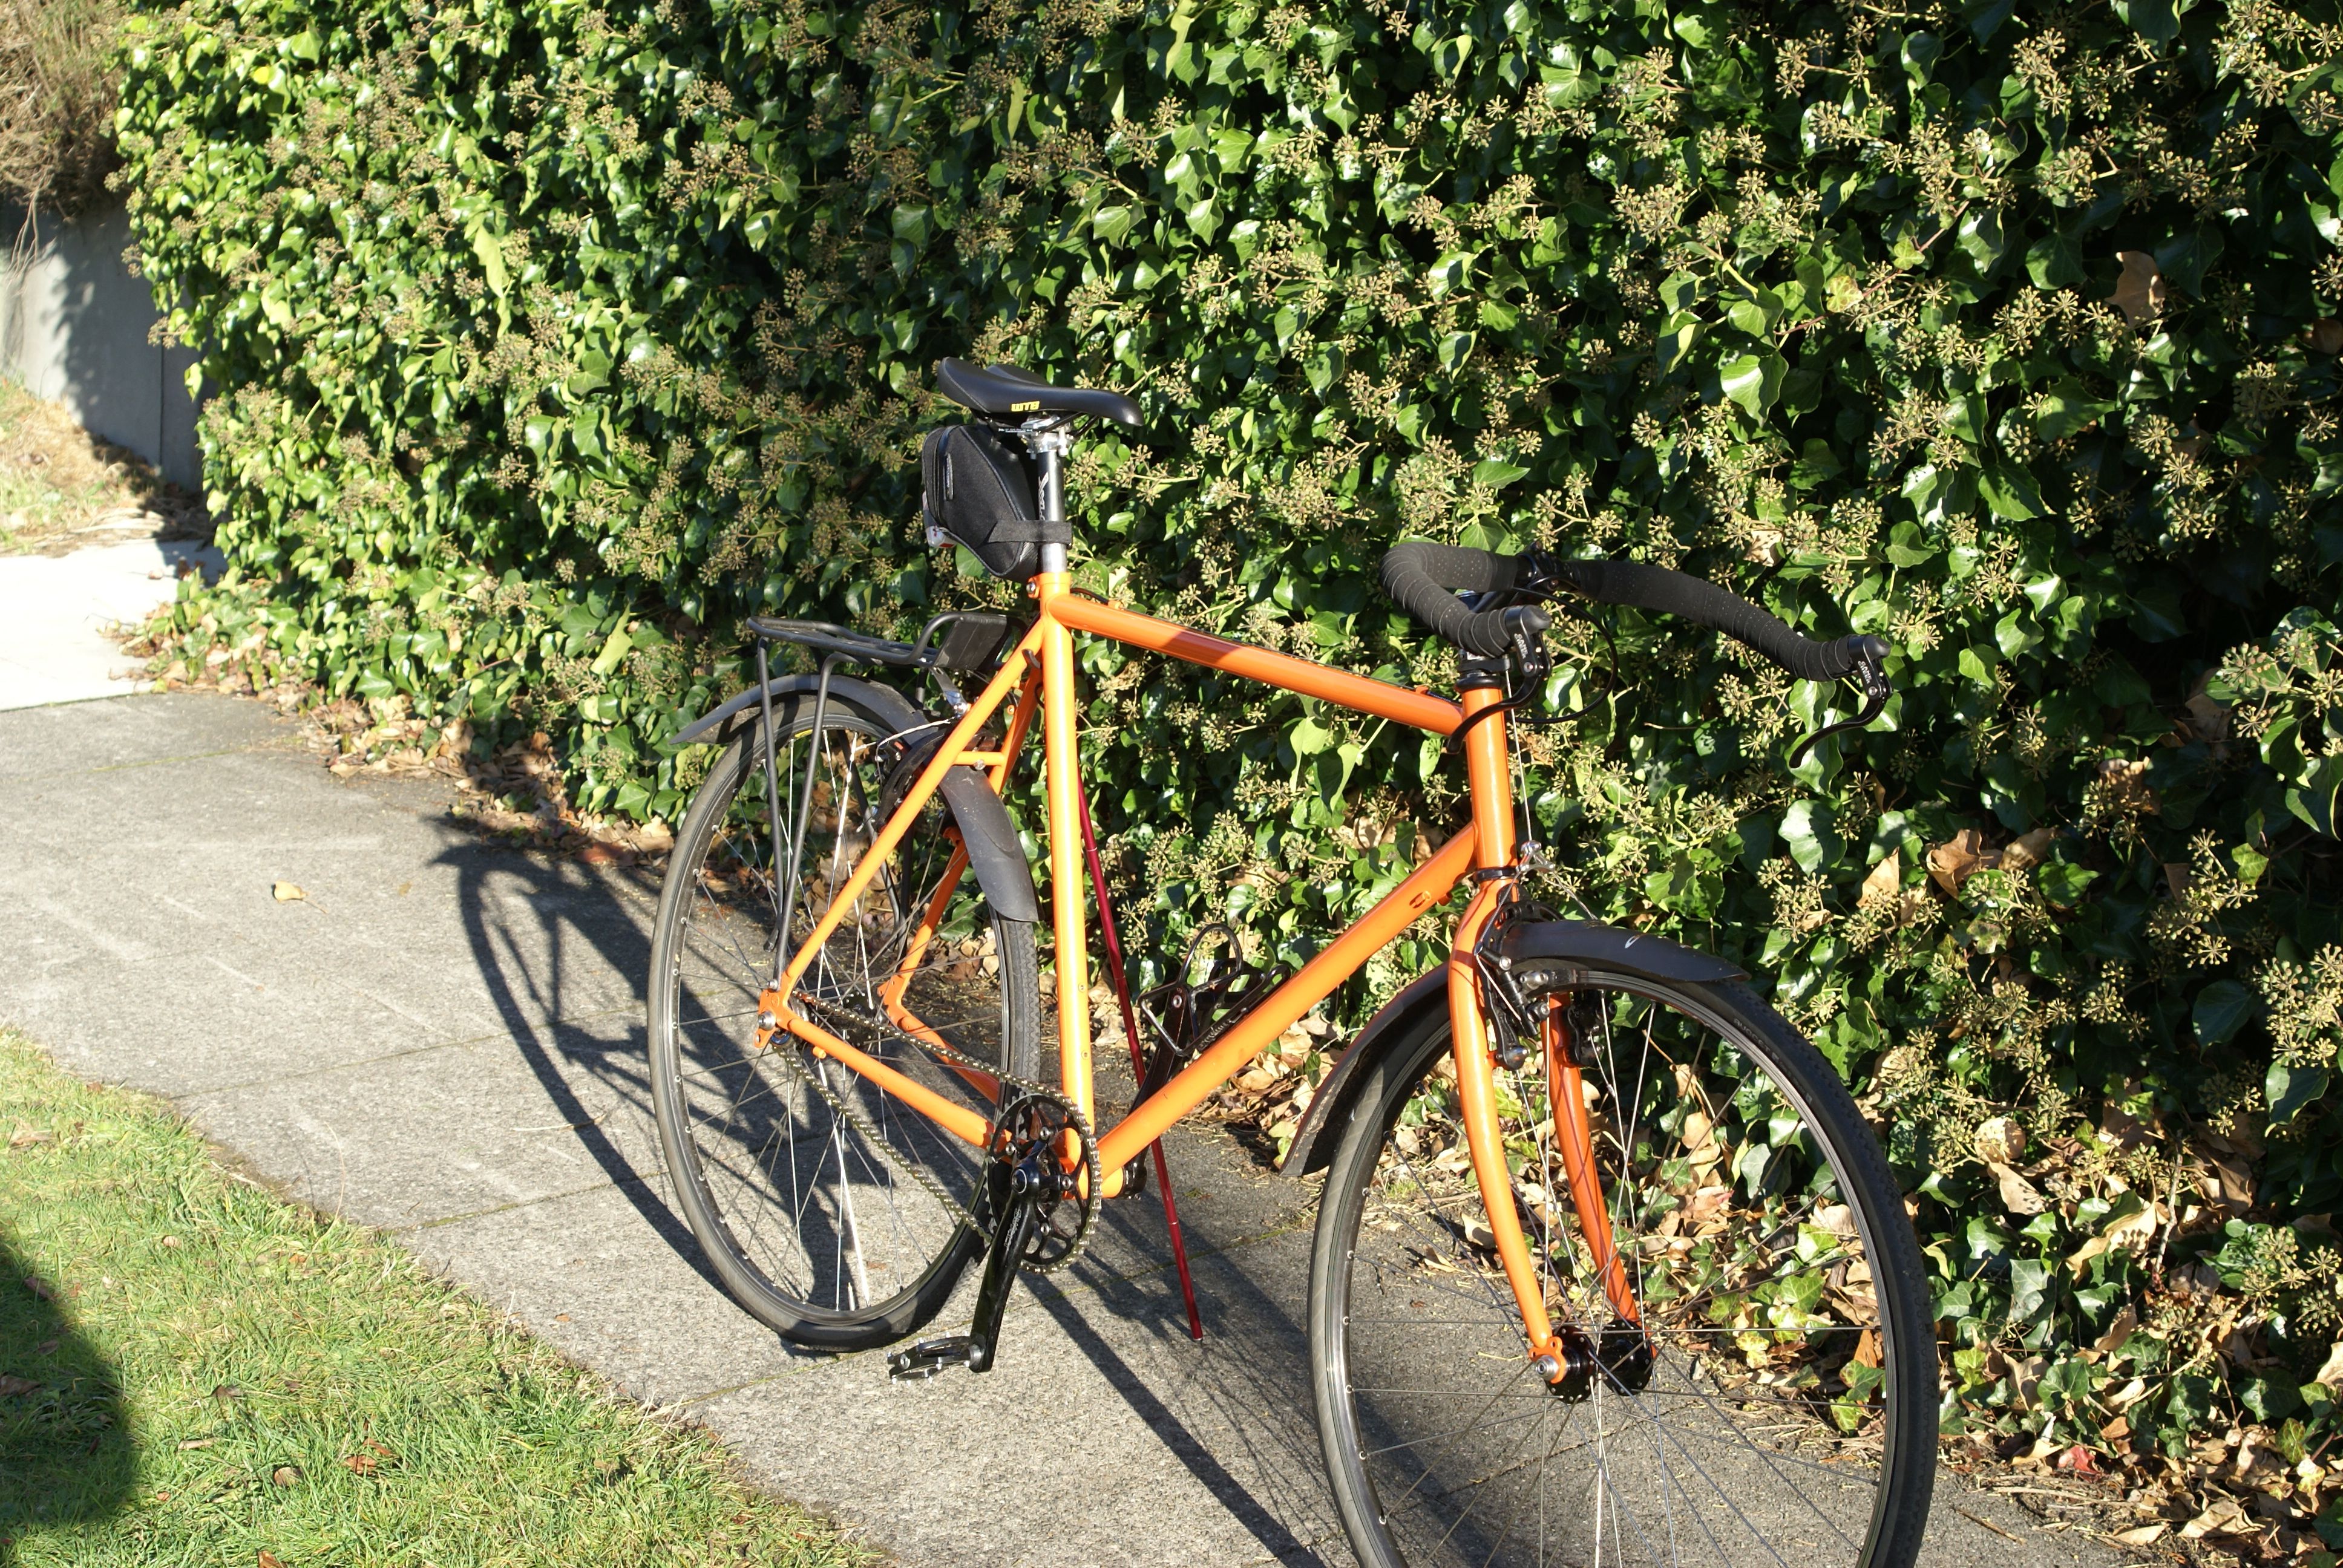
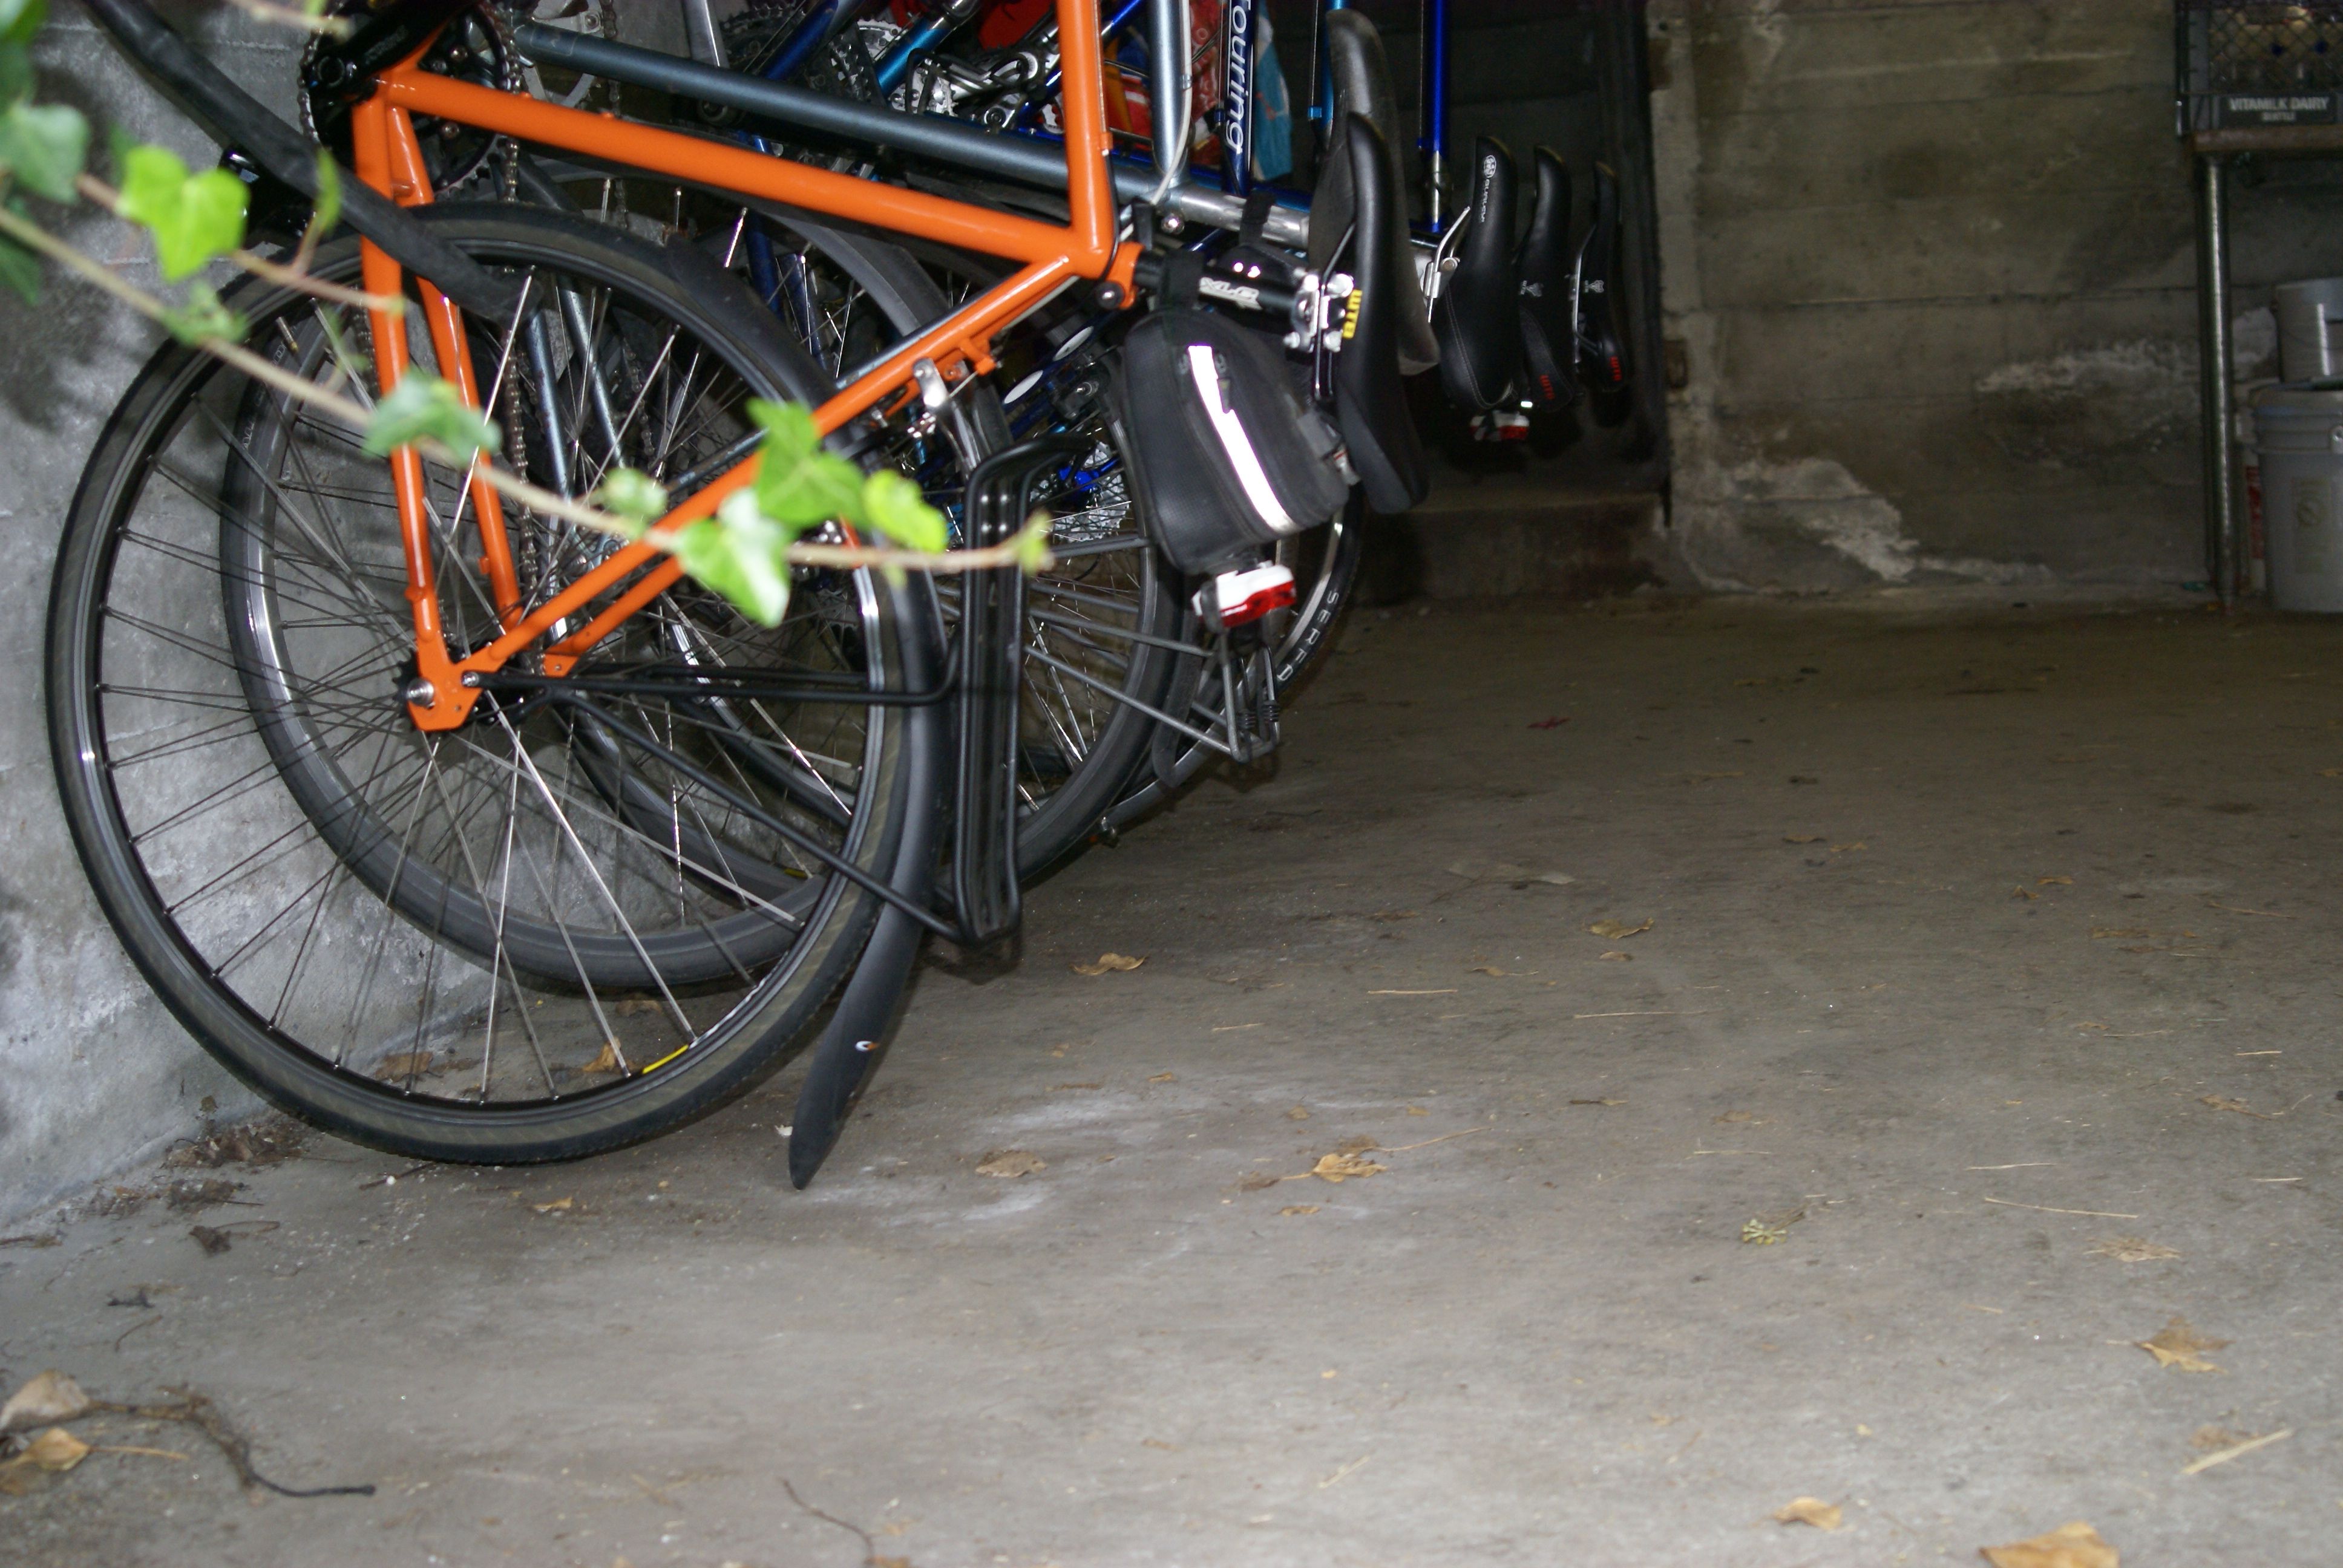
Here’s a gallery of photos from before the first ride (thought about posting them to Reddit as a “new bike day” thing, but that’s another project.)
UPDATE – note the (bad) image at the top of the page has a 1 1/8 inch stem – I went with an adapter letting me use unthreaded stems and I like the look a lot better. (The last six or eight images in the gallery also show off the “final” look.
ANOTHER UPDATE – after Christmas I replaced the 42-T chainring with a 46-T chainring I had issues with the addition of chain links that required, but otherwise I don’t see much difference in feel. I’ve got an Origin8 headset that I plan to install in place of the stock one but I haven’t wanted to take the bike out of service for the time that is going to require.
FINAL UPDATE – I got the new headset installed after a lot of cussing and the purchase of a new wrench. Here’s the final configuration.